Transform Your Floor: Seal Gaps, Stop Draughts
If you’re fed up with icy draughts curling up through your floorboards, the rattle of cutlery in a quiet kitchen, and dust spiralling from mysterious chasms between planks, you’re not alone. Gaps in timber floors are more than a cosmetic niggle: they’re the daily irritant that turns a room from “cosy” to “can’t-get-comfortable.” The good news? There’s a neat, durable, and good-looking fix that restores calm as well as elegance.
This article is your clear, no-nonsense guide to closing those gaps the right way. We’ll explain why boards separate, what modern resin filling really involves, when it’s the best solution (and when it isn’t), how long it lasts, how it affects sanding and finishing, and how to care for your floor afterwards. By the end, you’ll know exactly what to ask for—and what to avoid—so your floor feels snug, polished and serenely quiet again.
Want the quick version? Book your consultation for Resin Fill for Peace and stop the draughts before the next cold snap.

Why gaps appear in wooden floors
Timber is alive to its environment. Even long after the tree was felled, wood still responds to temperature and humidity. In winter, central heating lowers indoor humidity and boards give up moisture, shrinking across their width. In summer, they take moisture back and expand. Over years of seasonal movement, tiny misalignments become visible gaps—especially in period homes with original boards.
Other common culprits include:
- Dry subfloors and cellars that pull moisture from above.
- Radiators and underfloor heating driving repeated cycles of shrink-swell.
- Historic installation quirks, such as uneven joist spacing, that show up once a finish wears thin.
- Previous “repairs” using rigid fillers or decorators’ caulk that crack and fall out.
You can’t stop wood moving—but you can choose a gap-filling method that flexes with the seasons and stays put.

Why fill at all?
A well-executed gap fill is the difference between “looks nice” and “lives beautifully.” Here’s what you’ll feel day to day once those crevices are gone:
- Fewer draughts and cold spots. Rooms hold warmth better, especially in older properties.
- Less noise. Gaps act like tiny sound tunnels. Close them and rooms feel quieter, calmer.
- Cleaner living. Dust and crumbs have far fewer places to hide.
- Stronger, more stable boards. Properly bonded edges reduce flexing and creaks.
- A better final finish. Oil or lacquer sits beautifully when the surface is uninterrupted.
What a modern resin gap fill actually is
Forget brittle putties and decorators’ caulk. Contemporary gap filling for timber floors uses professional-grade resins engineered to adhere to wood, resist micro-movement, and finish smoothly.
Two approaches are common:
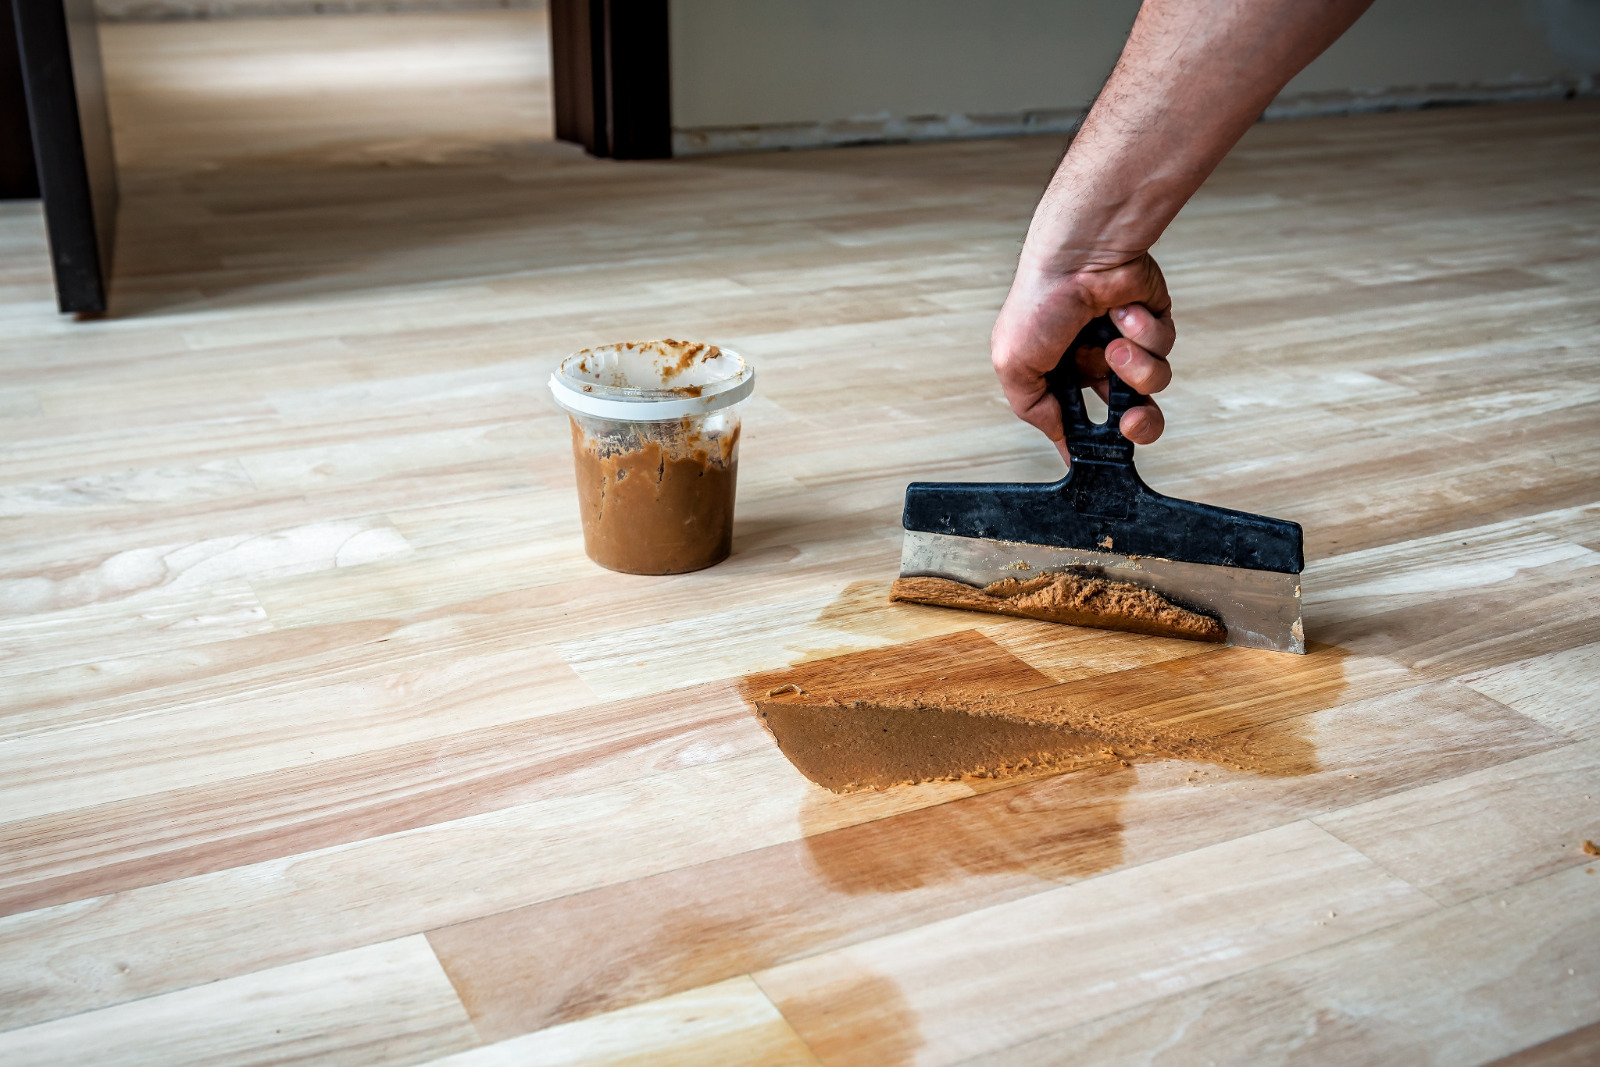
- Resin plus wood-dust slurry. We generate fine, colour-matched dust during sanding (usually at the 60–80 grit stage). Mixed with a clear or neutral resin binder, this becomes a thixotropic slurry that’s pressed into gaps up to about 3 mm wide. Because the dust is from your floor, the colour match is excellent after finishing.
- Flexible resin compounds. Where movement is more pronounced, a slightly more elastic, purpose-made resin is applied. It bonds to the board edges and flexes subtly with seasonal change, holding fast where old fillers fail.
What these products share is excellent adhesion, fast cure, and compatibility with modern finishes, from hardwax oils to water-based lacquers. Crucially, once cured and sanded flush, the fill becomes part of the floor’s visual plane—no hairline shadows, no crumb-catchers, just a continuous surface.
When resin shines—and when to consider slivers
Resin-based gap filling is ideal when:
- Most gaps are hairline to 3 mm wide.
- The boards have routine, seasonal movement rather than structural issues.
- You want a seamless, quick solution with minimal disruption.
- You’re planning a full sand and refinish, so the fill can be integrated and flattened perfectly.
Consider timber slivers (thin, wedge-shaped wood inserts) instead when:
- You’re dealing with wider gaps (often 4–8 mm or more).
- There’s historic shrinkage that won’t close seasonally.
- You want the grain continuity that only real wood inserts can provide in larger voids.
A good contractor will often combine methods—slivers for the bigger offenders, resin for the fine lines—so the whole floor reads as one.
The process, step by step
A floor that feels calm starts with a methodical workflow. Here’s how a professional team restores order:
1) Survey and moisture readings
Before any machine touches the timber, the contractor checks subfloor conditions, pinpoints draught pathways, and measures wood moisture content. This pre-flight stops false starts and points to the right mix of products.
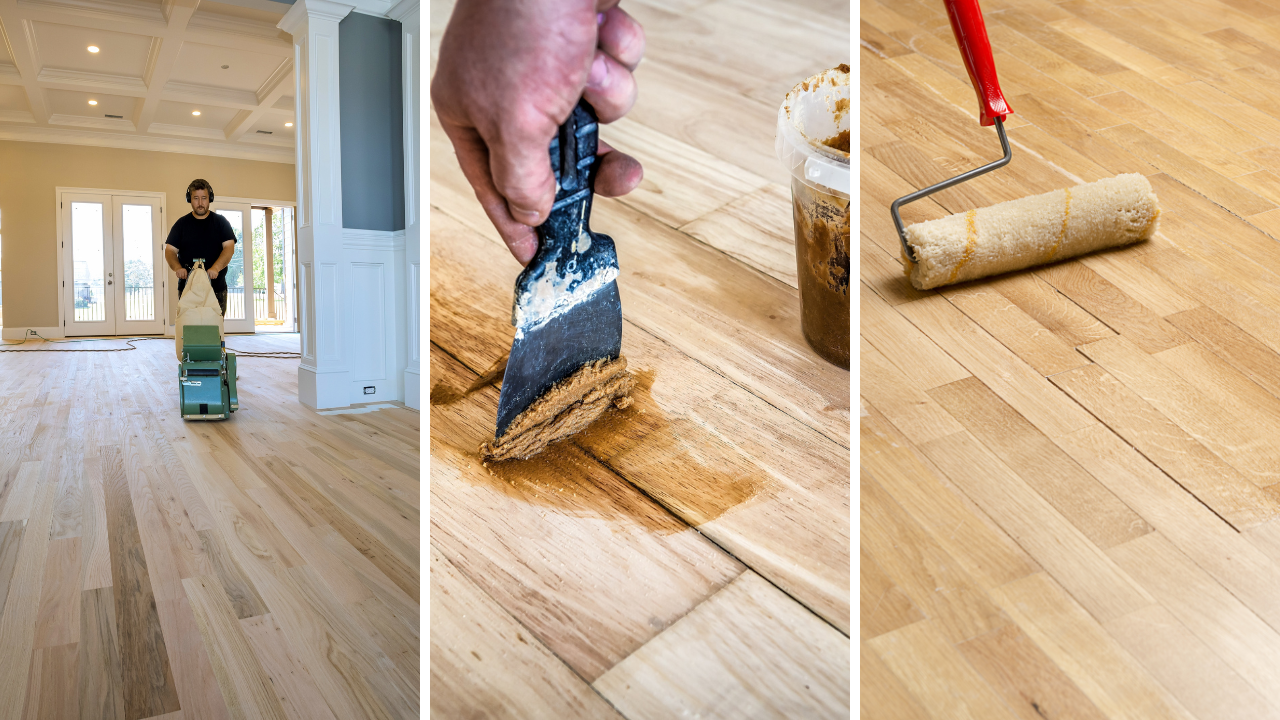
2) Coarse sanding to create a plane
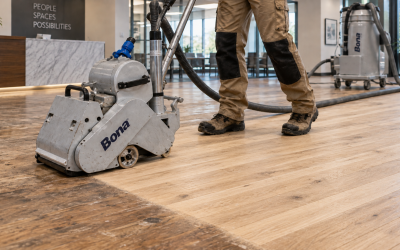
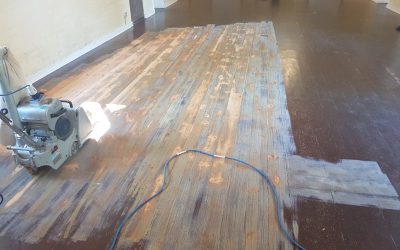
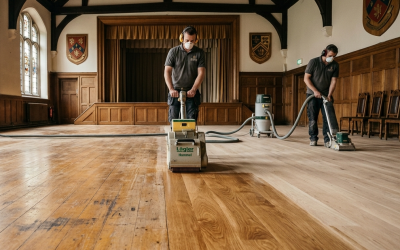
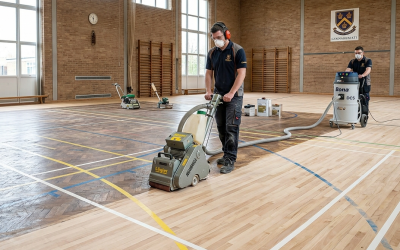
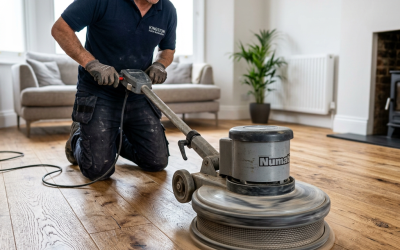
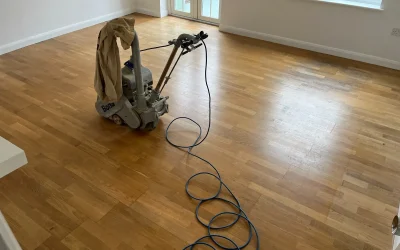
We level the floor with progressive grits, removing old finish, high spots and cupping. This creates the clean edges resin needs to adhere to—and generates the perfect, colour-matched dust for a slurry fill.
3) Precision vacuuming
Dust control matters. We extract fine particles from every gap so the resin bonds to wood, not to loose debris.
4) Application of fill
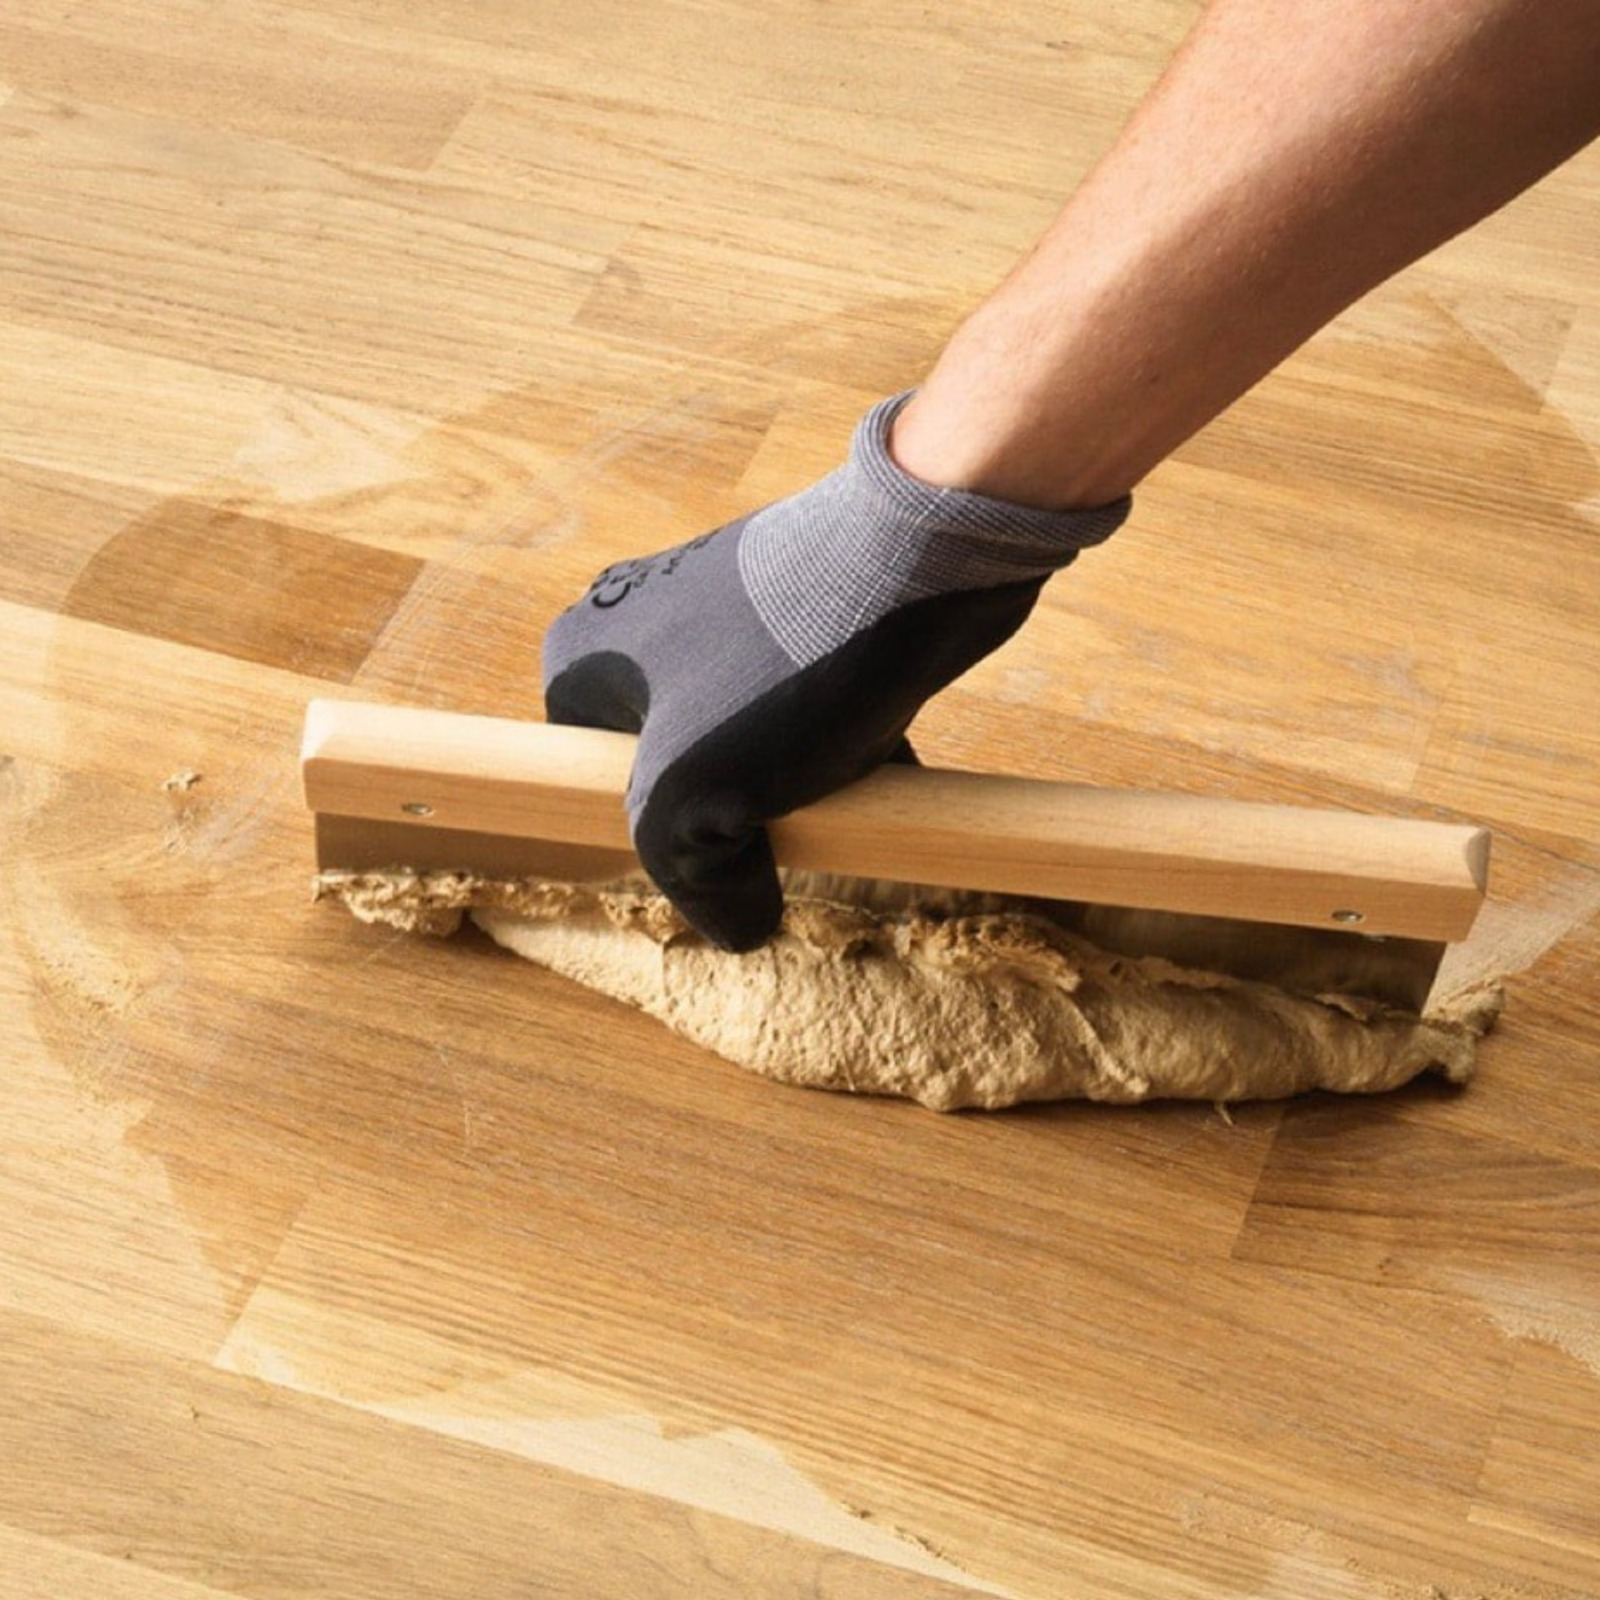
- For a slurry: wood dust is blended with a professional resin binder to a smooth, spreadable consistency, then worked across the boards with a flexible trowel at 45°. The aim is to press the mix into each gap, not merely skim the surface.
- For a flexible compound: a specialised resin is applied neatly along selected seams, avoiding smears and keeping edges crisp.
5) Cure time
Most resins set within 30–60 minutes under normal conditions, though cooler rooms may take longer. The goal is a fully set fill that won’t drag or pull during the next sanding pass.
6) Re-sanding flush
Once cured, the floor is sanded again to bring the fill perfectly level with the boards, erasing any witness marks. Done well, the gap lines simply vanish.
7) Finish for beauty and protection
Whether you prefer the natural feel of hardwax oil or the clarity and toughness of modern lacquers, the finish locks in colour and provides the wear protection your newly unified floor deserves.
Our Resin Fill for Peace method follows those exact principles: tight preparation, correct product choice, patient cure, and a meticulous final sand to make everything disappear into a single, silky plane.
Results you can see—and feel
A good floor isn’t just something you admire from the doorway. It changes how you live in a space.
- Thermal comfort: By closing hundreds of micro-gaps, you cut the stack of mini chimneys pulling air from below. Rooms warm faster, and warmth lingers.
- Acoustic calm: Less whistle and rattle; more hush. Footfall sounds softer, and conversations lose their faint echo.
- Visual refinement: When the floor reads as a single surface, everything above it—rugs, sofas, art—looks better. It’s the quiet backdrop great rooms sit on.
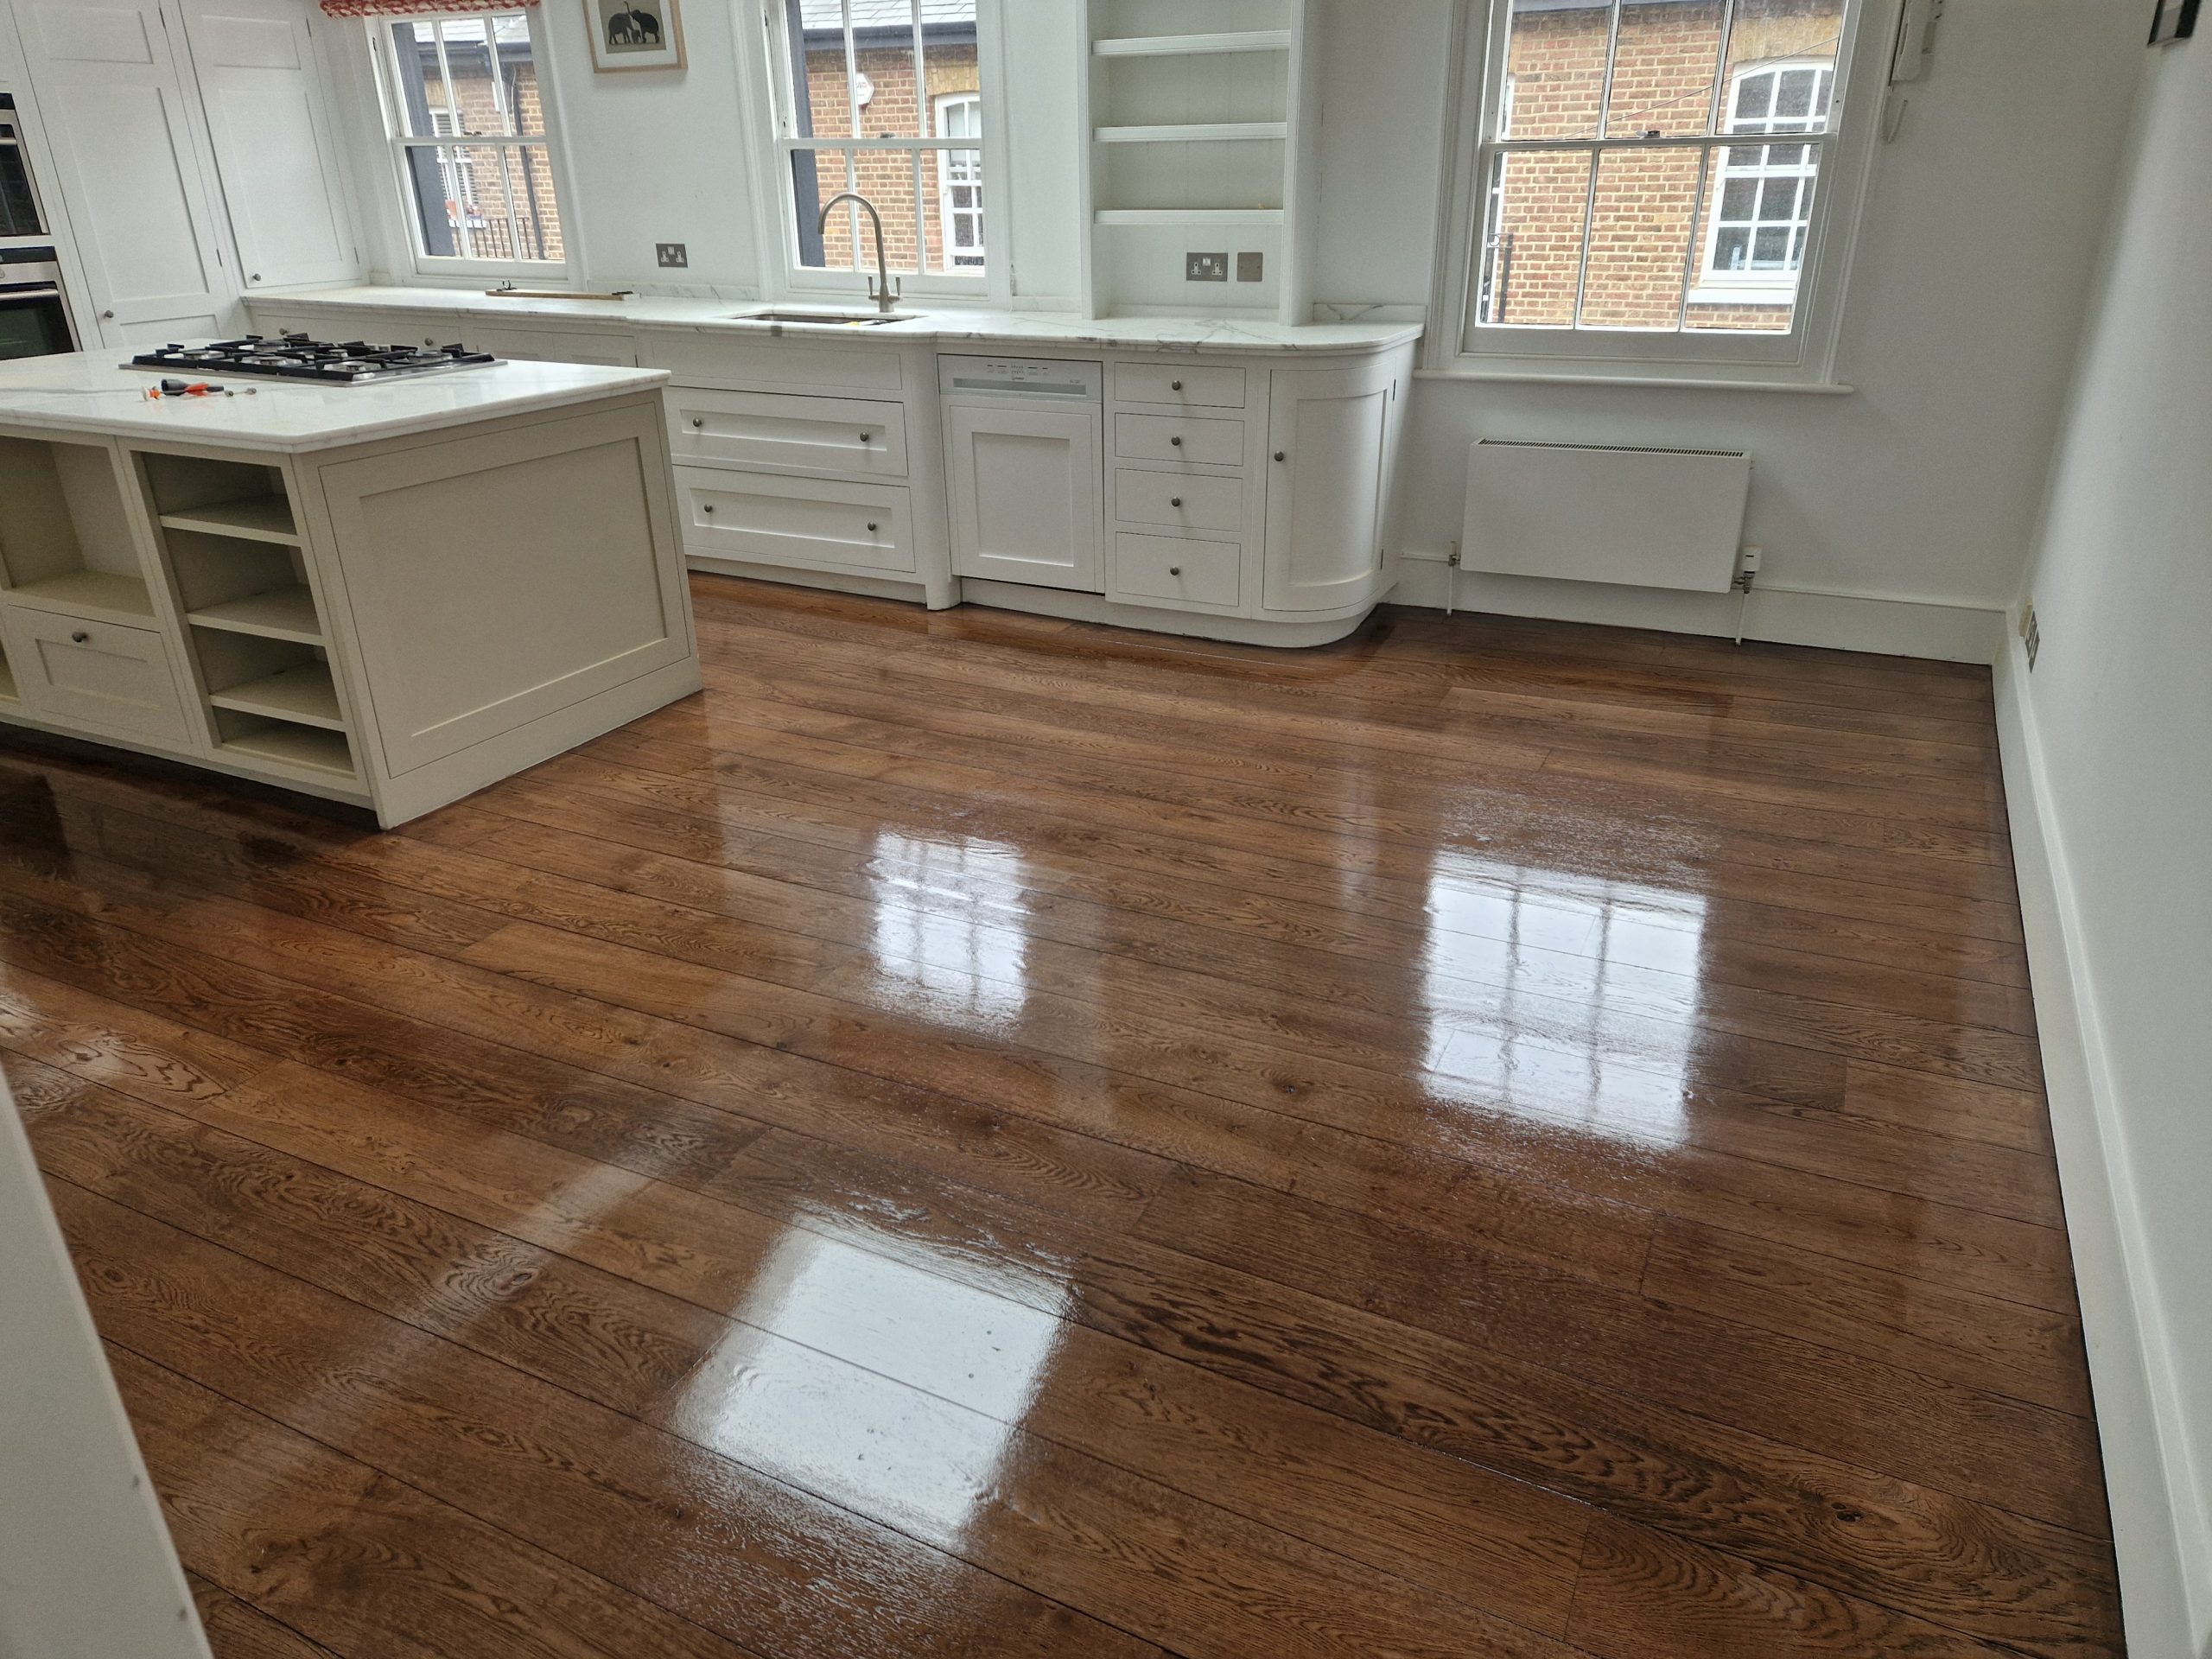
With Resin Fill for Peace as part of a full sand-and-finish, the transformation is immediate: tighter, warmer, quieter—and far easier to keep clean.
Case study: from chilly corridor to calm thoroughfare
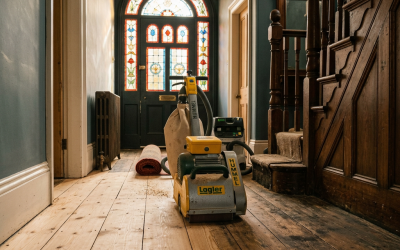
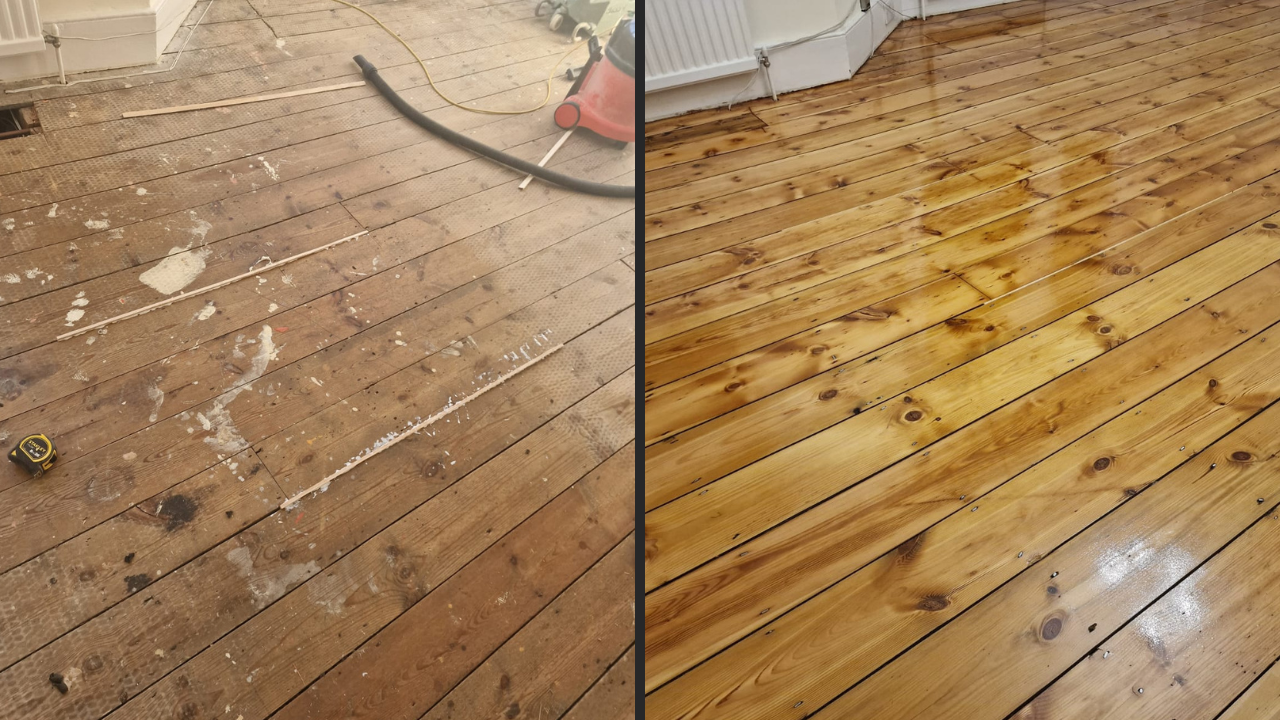
A Victorian hallway had become the household’s least-loved route: draughts swept under the front door, down the boards, and into the living room. The family had tried rugs; they shifted. They tried caulk; it cracked. They considered carpet; nobody wanted to hide the lovely pine.
Our survey found mostly 1–3 mm gaps, a few wider seams along the centre line, and general wear. We slivered the largest voids, then proposed Resin Fill for Peace across the rest, followed by a durable, low-sheen lacquer.
Two days later the hallway looked original—but better. The familiar whistle on windy nights had gone. The pushchair’s little wheels no longer chattered. Most importantly, the family noticed the living room retained heat after the evening boiler cycle. No fanfare. No drama. Just comfort restored.
Common mistakes—and how to avoid them
- Using flexible decorators’ caulk. It’s designed for skirting gaps, not horizontal wear zones. It often smears during sanding and sinks after finishing.
- Trying to fill without sanding. Filler needs clean, keyed edges and a flat plane to look seamless.
- Over-wide fills with brittle products. Large voids demand slivers; forcing resin to bridge them invites cracks.
- Skipping the cure time. Sanding too soon can tear the fill or leave faint troughs that reappear after finishing.
A reputable team will walk you through product choices, explain why certain gaps get slivers instead of resin, and show you how the outcome will look and feel.
How long does it last?
In a normally heated home with reasonable humidity (think 40–60%), resin fills installed as above hold beautifully for years. That’s because they adhere to both board edges and flex just enough with seasonal movement. Where movement is extreme—say, floorboards directly over a very dry cellar—your contractor may suggest a slightly more elastic product or a combination of slivers and resin to keep things stable.
Will I still see the lines?
After the final sand, the goal is for the surface to read as one. In strong side light, you may notice a faint tonal difference where the resin-plus-dust sits, particularly on very pale floors finished with ultra-clear lacquer. This is normal and usually subtle. On medium and darker timbers—or floors finished in natural oils—the lines all but vanish.
What about staining?
Stain first or fill first? With slurry fills, professionals typically sand, fill, sand, then stain/finish, so the stain colours both the wood and any minute traces of dust that remain. Flexible compounds are chosen for compatibility so the stain and finish adhere properly. If you’re planning a deep colour shift, mention it at survey stage so products are selected accordingly.
Aftercare: keep the peace you’ve created
- Manage humidity. A simple room humidifier in deep winter (or a dehumidifier in humid summers) helps keep seasonal swings gentle.
- Protect from grit. Use mats by doors and felt pads under furniture. Grit is sandpaper; pads are cheap insurance.
- Clean smart. Vacuum with a soft brush; damp-mop with a pH-neutral cleaner made for wood finishes. Avoid soaking.
- Refresh the finish. Oils may like an annual maintenance coat; lacquers benefit from gentle cleaners and, many years later, a resand-and-refinish when wear patterns appear.

Sustainability: save boards, save energy, save waste
Gap filling is a classic repair-not-replace approach. You keep original timber—often better than anything you can buy today—and reduce energy loss through draughts. Less timber wasted, fewer new materials shipped, and a floor that can be re-sanded and refreshed for decades. Planet and purse both win.
Pricing, timing and what to expect
Costs vary with floor size, the number and width of gaps, subfloor conditions, and your chosen finish. A typical home sees gap filling bundled into a full sand-and-seal project over a day or two, with rooms ready for light use soon after the final coat cures. What matters most is preparation and patience: thorough vacuuming, product choice, proper cure, and a careful final sand. That’s the difference between “filler applied” and “floor transformed.”
If time is tight—say, you’re moving in next week—talk to your contractor early. They can advise on cure windows and the best finish to meet your deadline without compromising quality.
FAQs
Is Resin Fill for Peace permanent?
No filler is truly permanent because wood moves. But with the right resin, correct preparation, and sensible humidity, you should expect long, trouble-free performance. Where movement is extreme, a hybrid approach (slivers for big gaps, resin for fine ones) keeps everything steady.
Will my floor need slivers as well as resin?
If some gaps are just too wide for a stable resin bridge, slivers are the honest answer. They’re hand-cut to fit, glued in, trimmed flush, then sanded and finished along with the floor.
Does it work on parquet?
Yes—with care. Parquet blocks move differently to boards, but a fine resin slurry can close hairline joints beautifully. Wider joints may require edge repairs or block replacement.
What if I can’t vacate the house?
Professional dust extraction and quick-curing products make live-in projects possible. Discuss room sequencing so you always have access to kitchens, bathrooms and bedrooms.
Will the fill pop out later?
If you’ve used the right product and process, it shouldn’t. Pop-outs usually trace back to poor adhesion (dust left in the gap), movement beyond the product’s design, or trying to bridge too wide a void with the wrong material.
Which finish pairs best with resin fills?
Both oils and modern lacquers work well. Your choice depends on sheen, feel, traffic, and maintenance preferences. A good contractor will show samples in your space and light.
The calm, finished floor you wanted all along
You wanted warmth without draughts; hush instead of rattle; a floor that looks like a single, beautifully crafted surface. That’s what a proper gap-fill plus sand-and-seal delivers—especially when the team respects timber and takes the time to do each stage right.
Ready to reclaim the comfort of your rooms? Choose Resin Fill for Peace today and enjoy a floor that finally looks—and feels—complete.